Manage users
Search, create, activate and verify member accounts while applying the correct privacy and role settings.
admin_users.mov · Reviewed against the Buzzmint Engage Admin interface on 16 July 2026. The full-motion master remains in the private BUZZMINT VIDEOS Drive folder.
- 00:00Review the user directory
Use search, date and status controls.
- 00:31Open Add User
Start a new user record and profile.
- 01:02Complete account fields
Add identity, organisation, country and role information.
- 01:31Verify the member profile
Check the created account in Network and Admin.
What Users controls
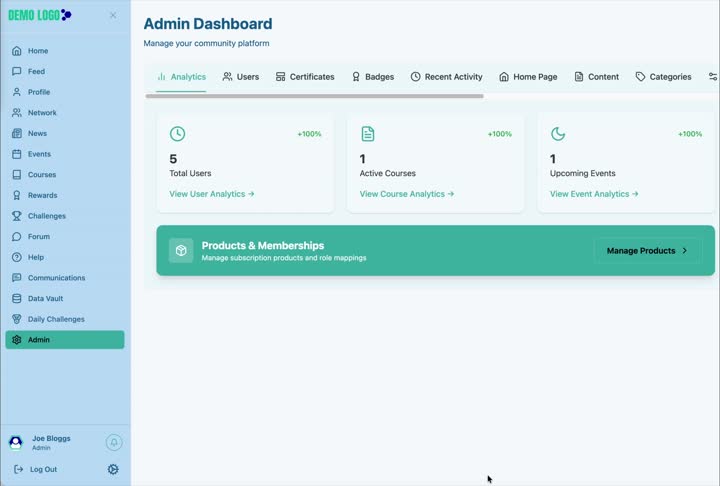
The Users area is the operational directory for accounts in the current portal. Administrators can search and filter accounts, change status, create a user and review the information that will appear in the member experience.
Find and review users
Use the search field, date selector and status filter before using the edit or delete actions. The status toggle provides a quick way to activate or deactivate an account where your role permits it.
Add a user
Select Add User
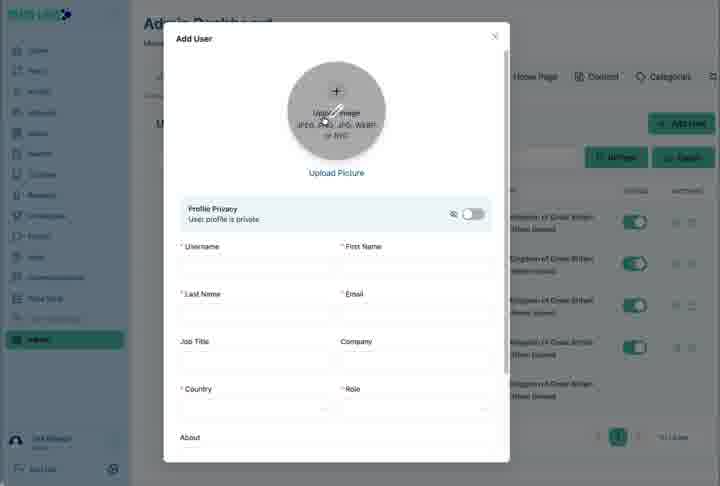
Open Admin → Users and choose Add User.
Upload an optional profile image
Use an approved profile image or leave the placeholder in place.
Choose profile privacy
Decide whether the user profile should be visible to other members.
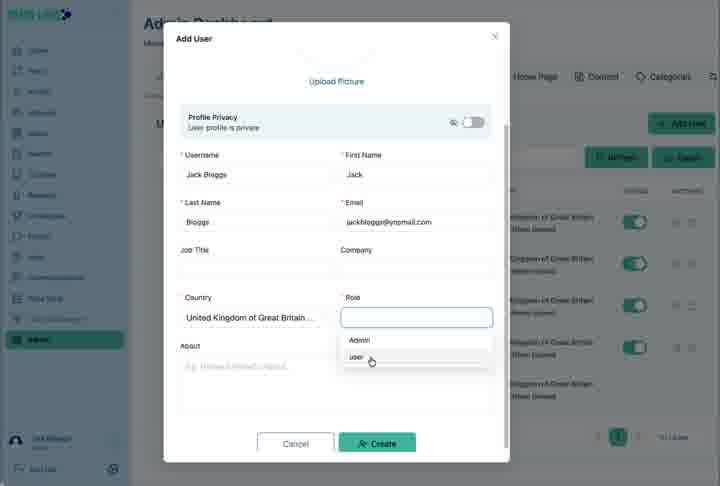
Complete the identity fields
Add username, first name, last name and a unique email address.
Add organisational details
Enter job title, company, country and any appropriate About information.
Assign the correct role
Choose the least-privileged role that supports the person’s responsibilities.
Create and verify
Create the account and confirm the user appears in the table.
Check the member result
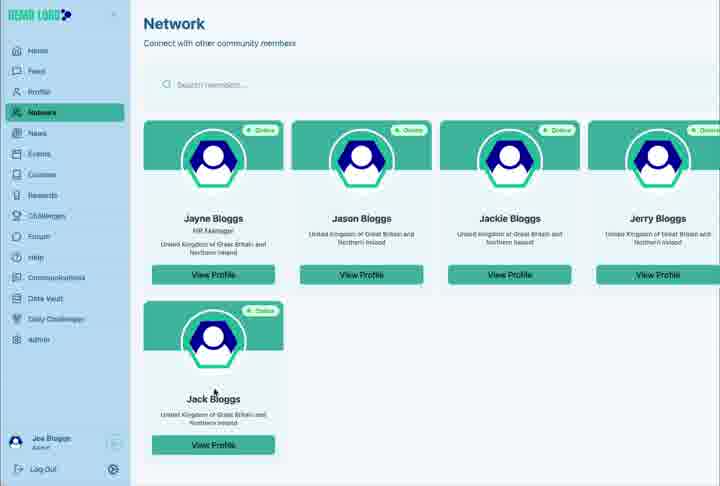
Where profile visibility is enabled, confirm the new account appears correctly in Network and that the public fields match the intended information.
User-management best practice
- Check the spelling of the username and email before creation.
- Use a monitored business email for administrators.
- Apply profile privacy deliberately.
- Review inactive and duplicate accounts regularly.
- Deactivate access when a person changes role or leaves.
User checklist
- The email and username are unique and correct.
- The role provides no more access than required.
- Country and organisational fields are accurate.
- Profile privacy matches the agreed member experience.
- The user appears in the expected directory or restricted view.
Common issues
The user cannot sign in
Confirm the email address, account status and invitation or password-creation process.
The user sees the wrong modules
Review the assigned role and the role access configured in Module Control.
The profile is missing from Network
Check the profile privacy setting and whether the Network module is enabled for the user’s role.
Hub version 0.3.7 · Last updated 16 July 2026