Create and manage Events
Set up an event, publish the joining information, support RSVP and calendar actions, and review attendance analytics.
events.mov · Reviewed against the Buzzmint Engage interface on 16 July 2026. The original full-motion master remains in the private BUZZMINT VIDEOS Drive folder.
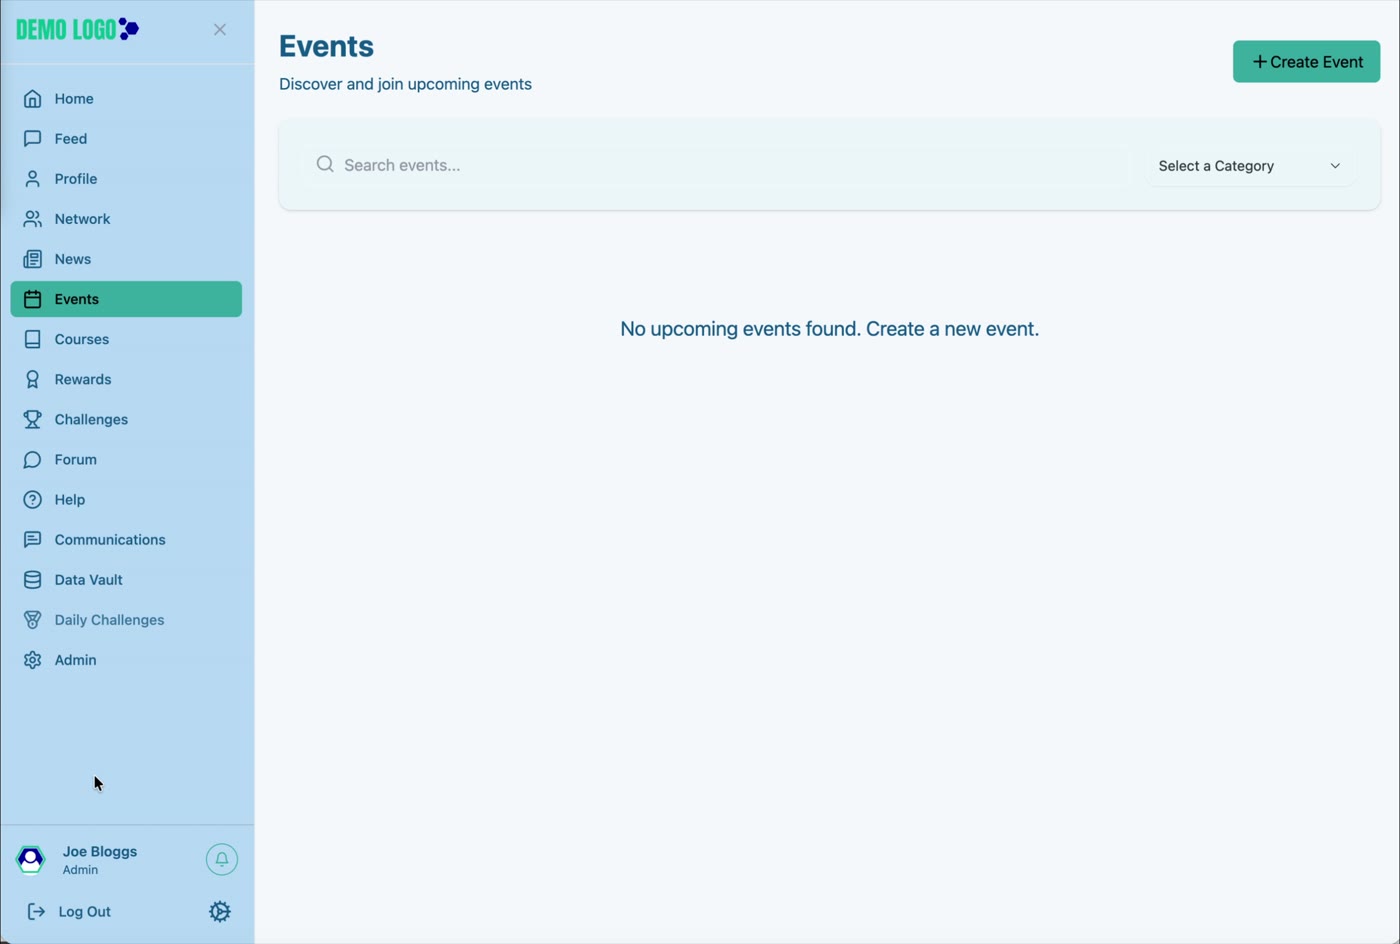
- 00:00Review Events
See the empty state, search, category filter and Create Event action.
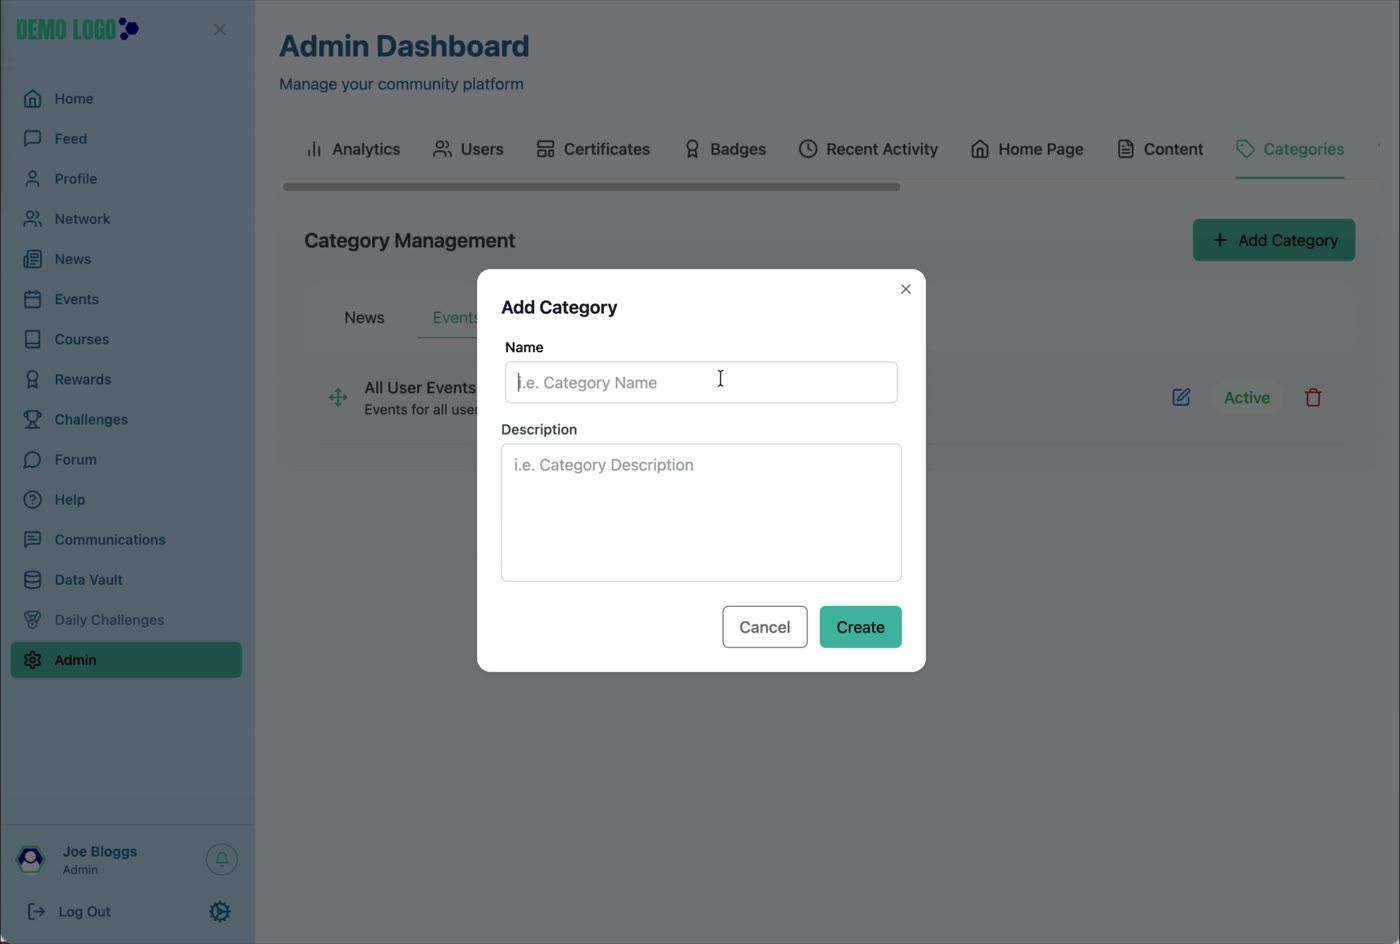
- 00:19Create Event categories
Add All user Events and Exclusive events in Admin.
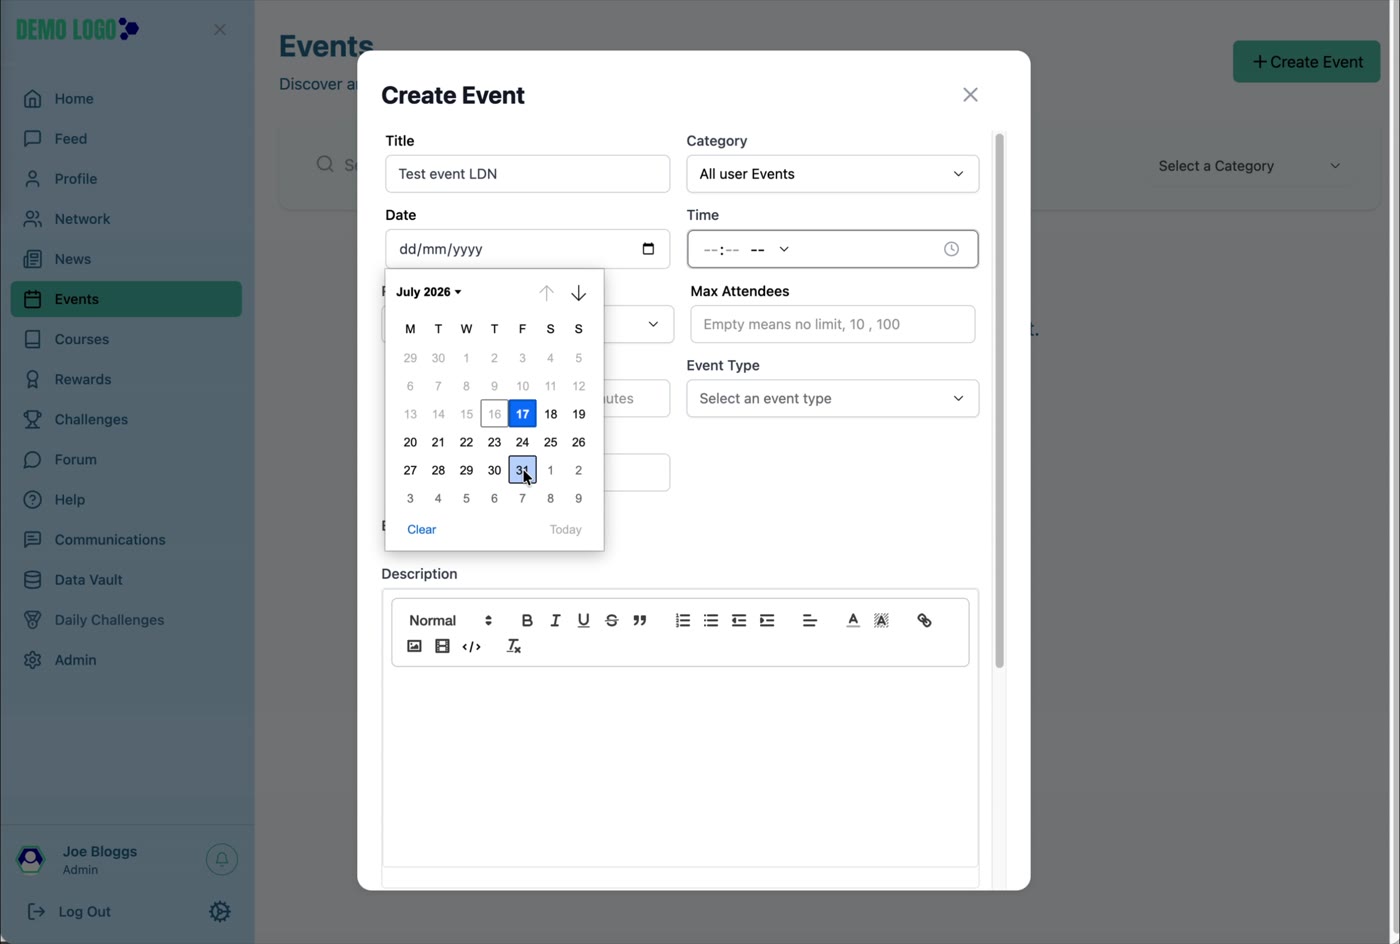
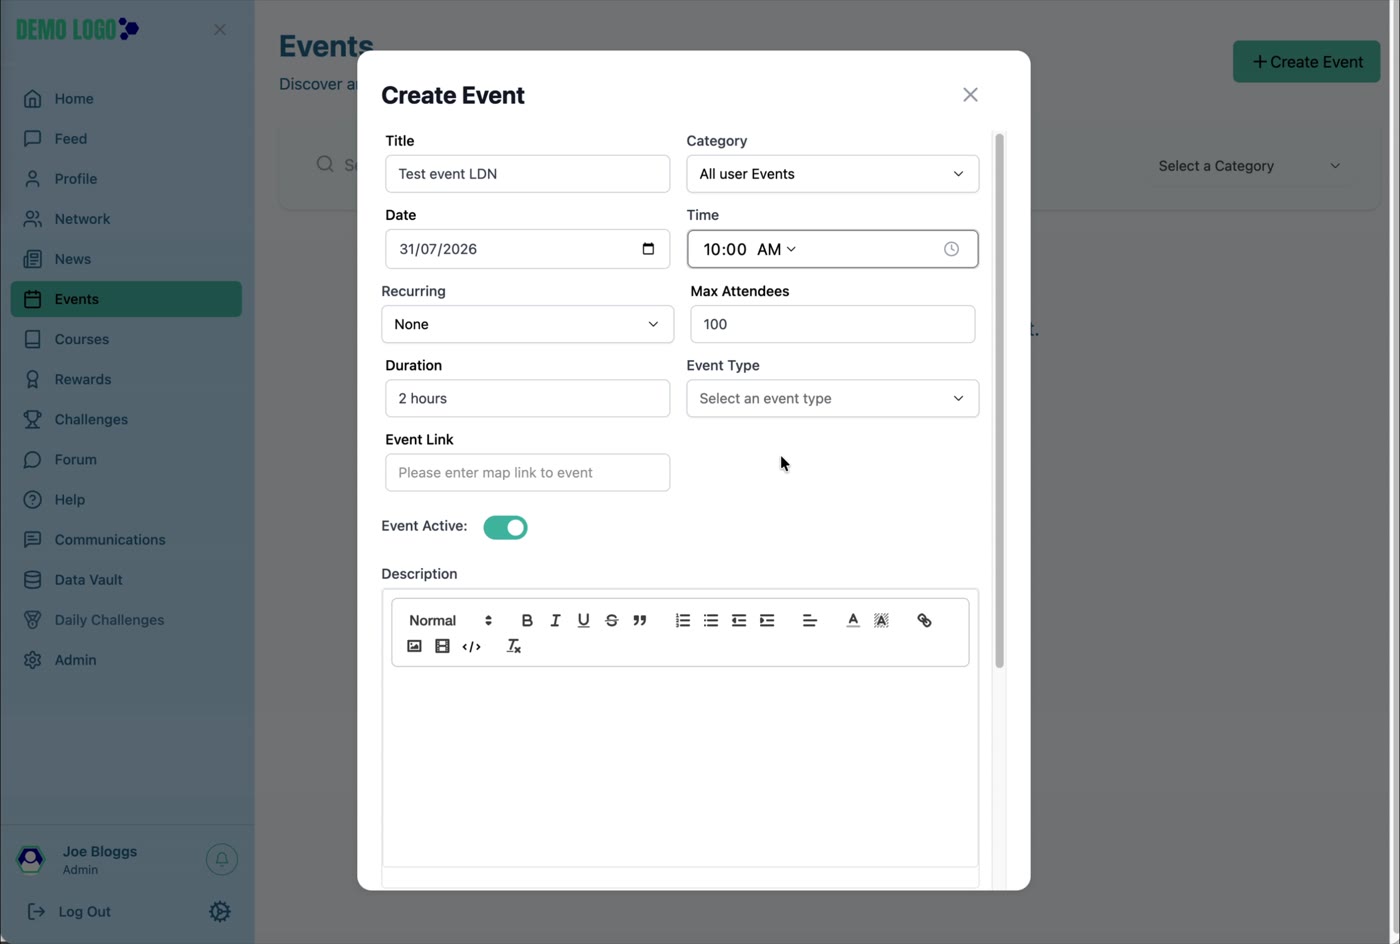
- 01:16Configure the Event
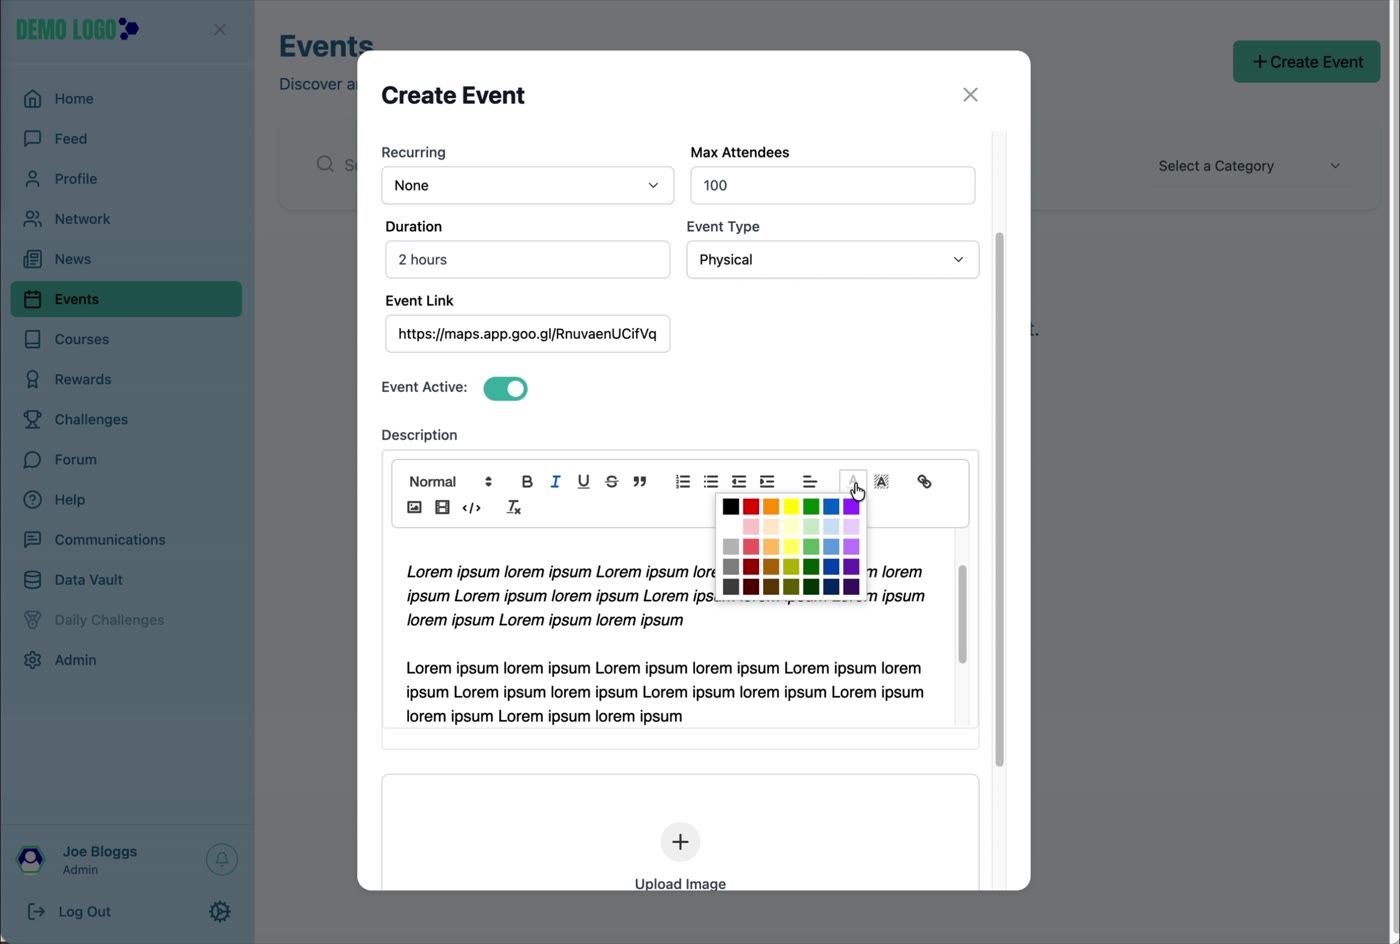
Set date, time, recurrence, capacity, type, link and content.
- 04:25Review and RSVP
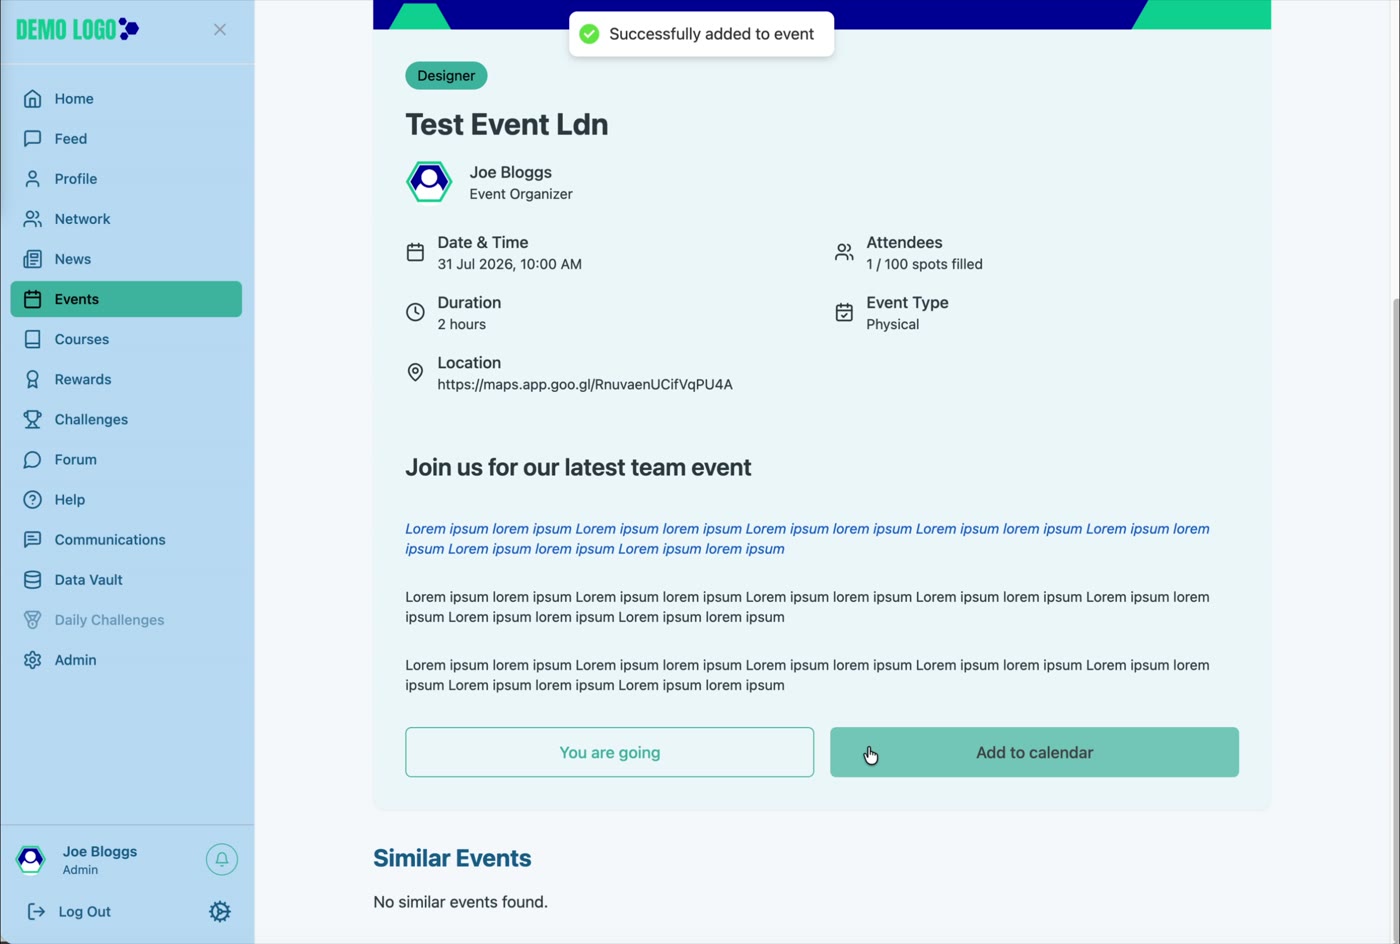
Open the event detail and complete the member response.
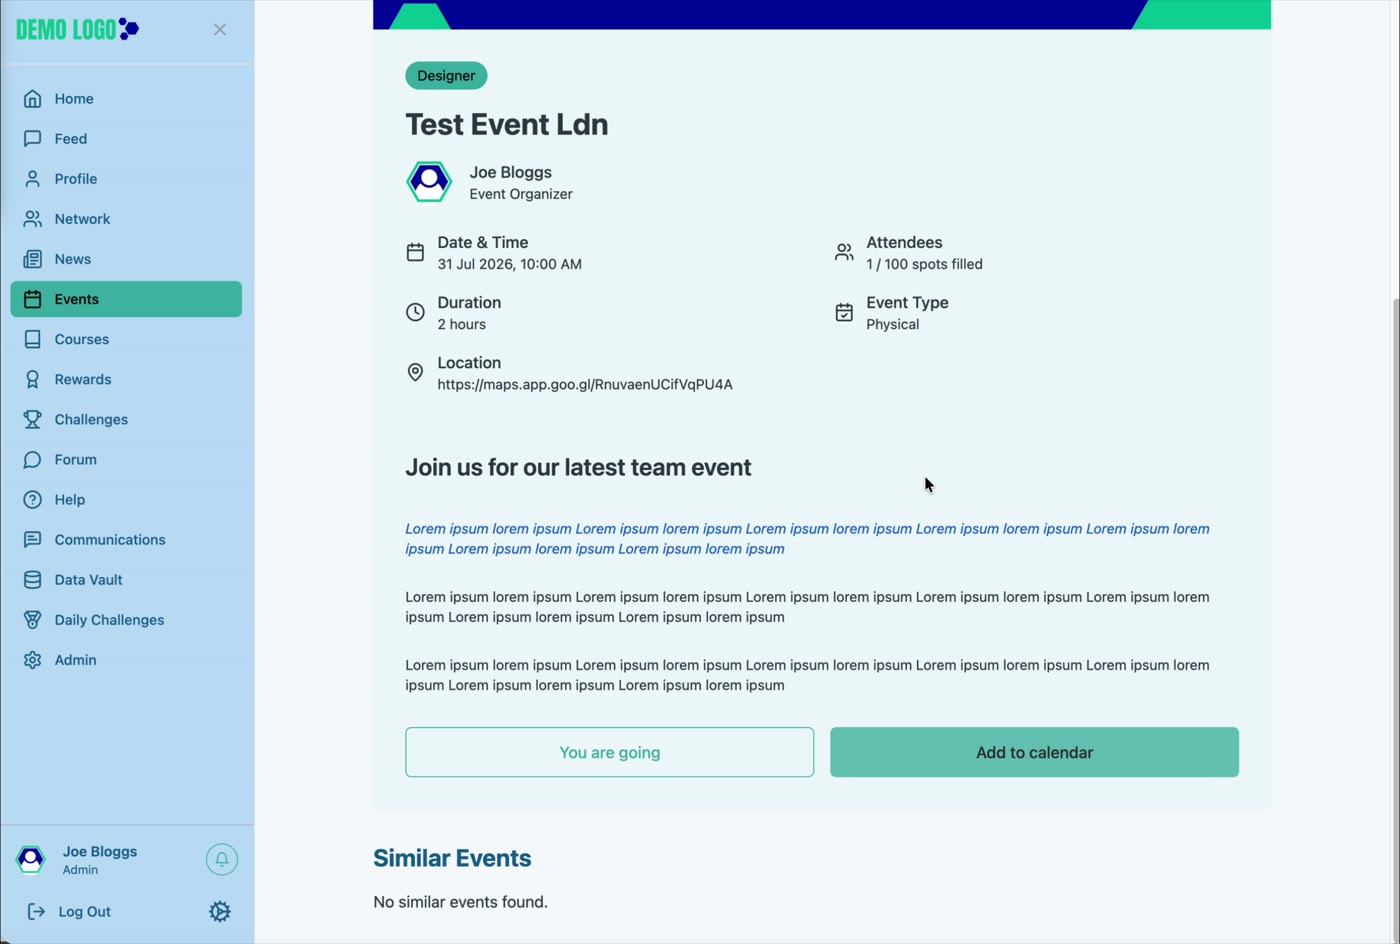
- 05:04Add to a calendar
Use Google Calendar or Outlook Calendar.
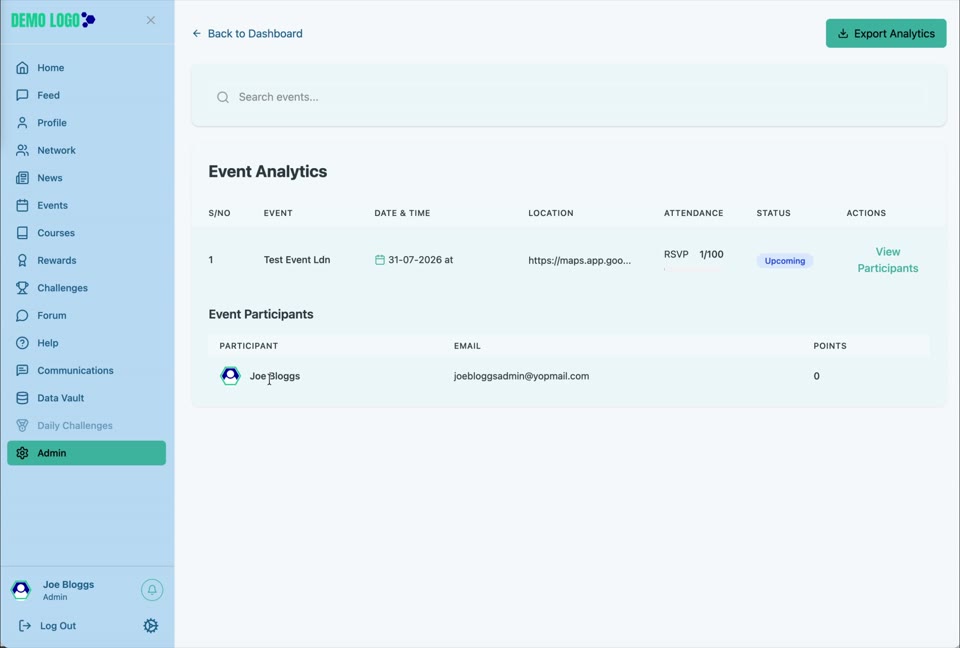
- 05:23Review Event Analytics
See attendees and export event reporting.
What Events is for
Events gives members one place to discover upcoming sessions, understand how to join and record their attendance intention. It supports physical and online event information, calendar actions and event-level reporting.
Create Event categories
Open Admin → Categories, select the Events tab and add the category name and description. Confirm it is Active before creating the event.
Create an Event
| Field or control | Purpose | Guidance |
|---|---|---|
| Title | The member-facing event name. | State the subject and, where useful, the location or format. |
| Category | Controls event grouping and filtering. | Use the audience category agreed for the event. |
| Date and Time | Sets when the event begins. | Check date format, local time and the expected time zone. |
| Recurring | Creates a repeating event pattern. | Use only when every occurrence has the same core details. |
| Max Attendees | Limits registrations. | The interface indicates that an empty value means no limit. |
| Duration | Explains the expected length. | Use a clear value such as “2 hours”. |
| Event Type | Identifies Online or Physical. | Choose the type that matches the joining information. |
| Event Link | Stores the meeting or map destination. | Test the URL in a private browser window. |
| Event Active | Controls whether the event is active. | Keep inactive while details are incomplete. |
| Description and Image | Provides context and visual identity. | Include purpose, audience, preparation and accessibility information. |
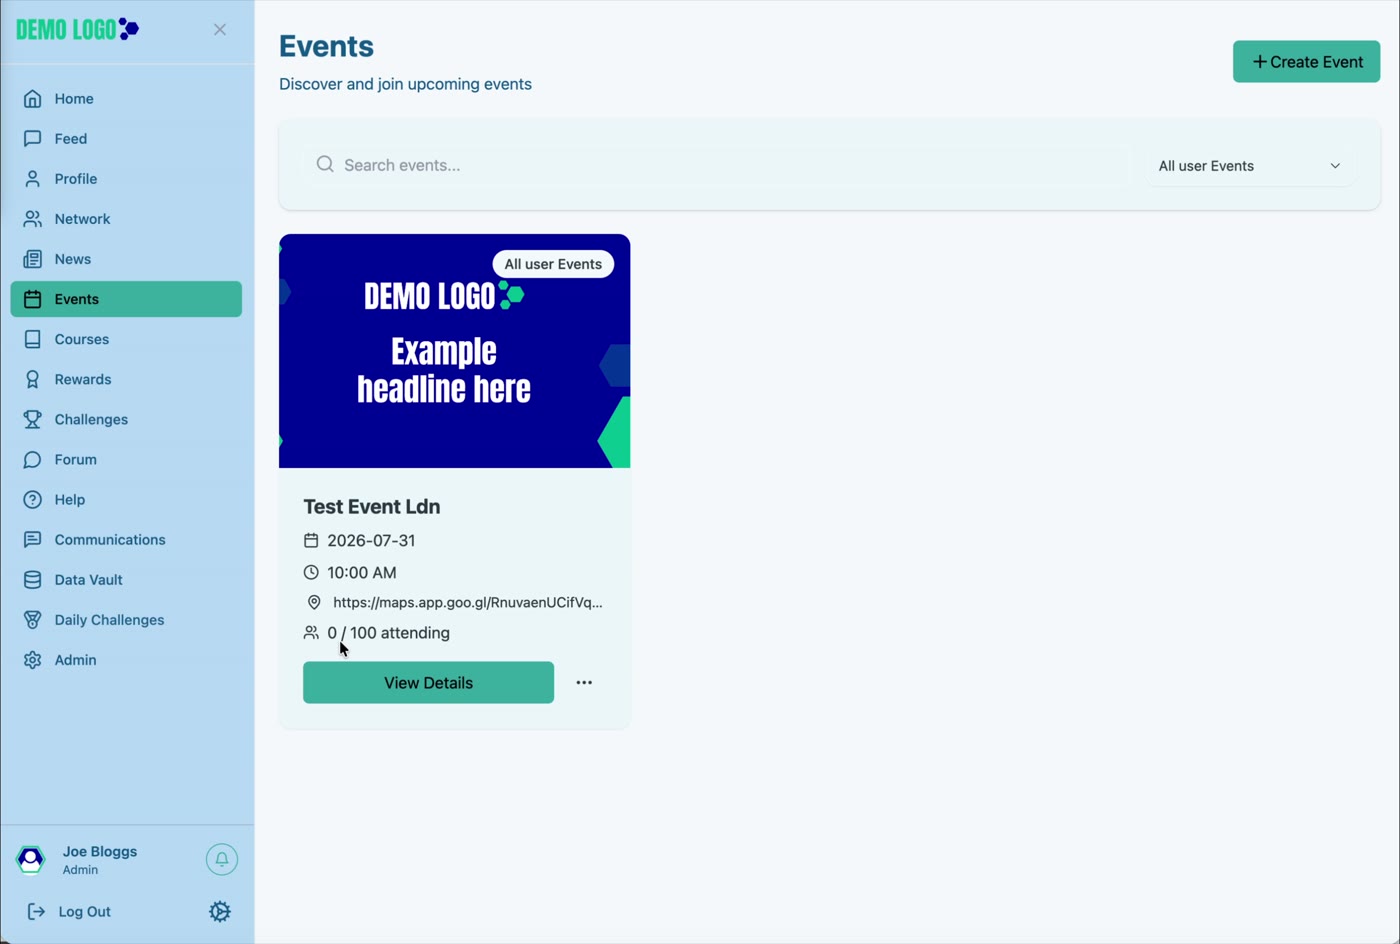
Member event journey
The published card shows the event image and summary information. The detail view adds organiser, schedule, attendance, location or joining information, event description and an RSVP action.
Add the event to a calendar
Select Add to Calendar and choose Google Calendar or Outlook Calendar. Confirm that the generated calendar entry contains the correct time, title and link.
Review Event Analytics
Event Analytics lists the event, schedule, location, attendance and status. The participant view identifies registered members and their points where applicable. Use Export Analytics when a downloadable record is required.
Event best practice
- Always state the time zone for distributed communities.
- Use the correct Event Type and test the meeting or map link.
- Set capacity only when somebody owns the waiting-list or refusal process.
- Include accessibility, preparation and contact information.
- Review recurring events when one occurrence changes.
- Export attendance only for an agreed operational purpose.
Event checklist
- Category is active and correct.
- Date, time and duration are confirmed.
- Time zone is clear in the description where needed.
- Capacity and recurrence are intentional.
- Online or physical type matches the link.
- Image and description display correctly.
- RSVP and calendar actions work.
- Analytics and participant reporting are available to the right roles.
Common issues
The event does not appear
Check Event Active, category, portal and any date-based filtering.
The calendar time is wrong
Recheck the event time, user locale and time-zone assumptions before republishing.
Members cannot join
Test the Event Link and confirm it is accessible to the intended audience without an expired invitation.
Hub version 0.3.7 · Last updated 16 July 2026