Manage platform content
Use the central Content workspace to review module records, create banners and open the correct creation workflow.
admin_content.mov · Reviewed against the Buzzmint Engage Admin interface on 16 July 2026. The full-motion master remains in the private BUZZMINT VIDEOS Drive folder.
- 00:00Review Content tabs
See all module content types in one workspace.
- 00:35Create a banner
Add main/mobile artwork and an optional link.
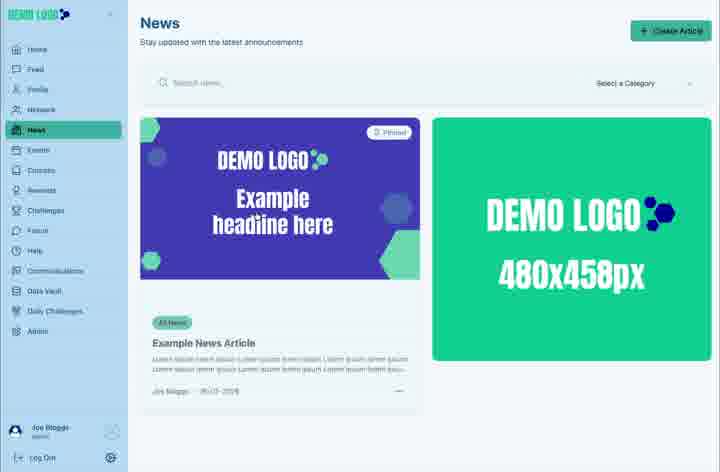
- 01:20Verify the News result
Check banner and content-banner placement.
- 01:36Review other modules
Move through Courses, Rewards and other tabs.
What Content controls
Content is the central administration workspace for reviewing and creating items across multiple Engage modules. The available tabs shown in the walkthrough include News Articles, Events, Courses, Rewards, Challenges, Daily Challenges, Quizzes, Forums and Challenge Submissions.
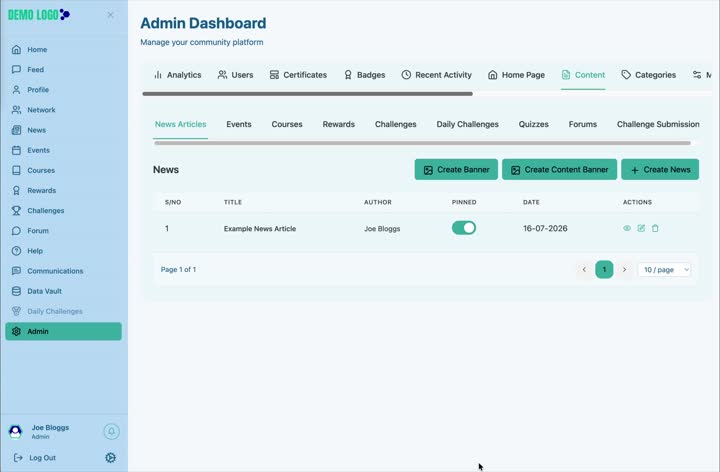
Move between content types
Select a module tab to see its records, status and actions. The columns and create actions adapt to the selected content type.
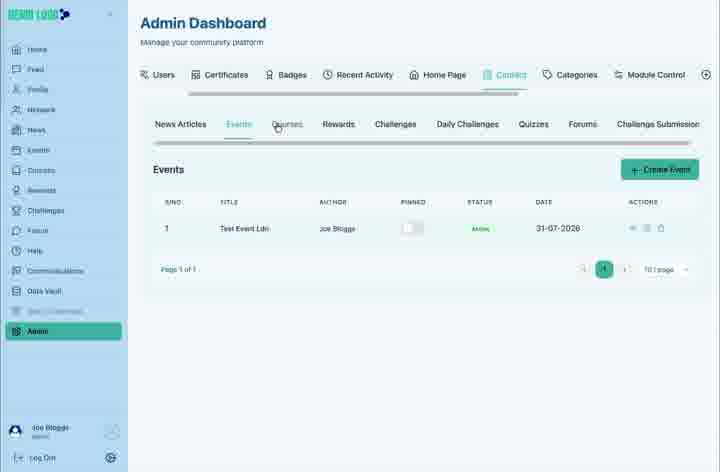
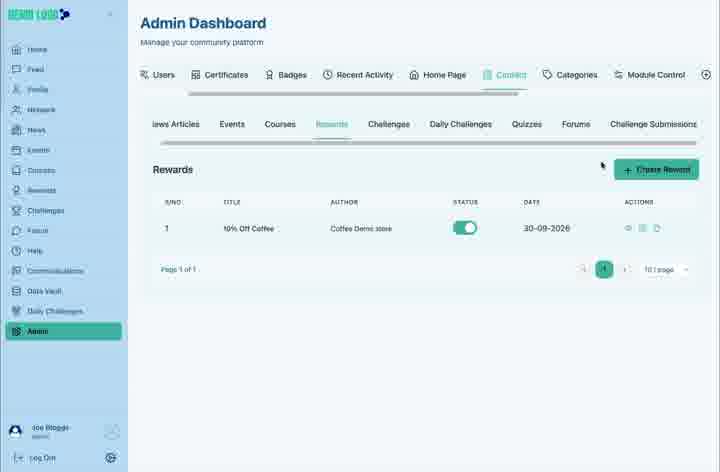
Create a module banner
Choose the relevant content tab
Open the module whose member page should receive the banner.
Select Create Banner
Upload the primary banner image.
Add an optional mobile image
Use a mobile-specific crop where the form supports it.
Add an optional hyperlink
Provide a destination only when the banner should be clickable.
Create the banner
Save and check the member-facing module page.
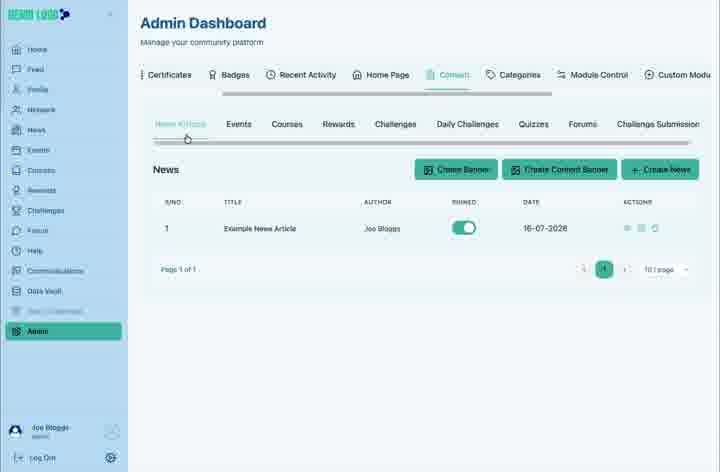
Check the member page
The walkthrough demonstrates the banner and content banner appearing on News. Review the banner crop, content cards and responsive behaviour together.
Content-management best practice
- Confirm the active tab before creating or editing content.
- Use consistent imagery across banners and cards.
- Do not publish placeholder dates, titles or copy.
- Test links and role visibility from a member account.
- Use module-specific guides for the full content workflow.
Content checklist
- The item belongs to the selected module.
- Status and dates are intentional.
- Banner dimensions and crops are correct.
- Optional links have been tested.
- The item appears correctly in the member module.
Common issues
The wrong creation form appears
Close it and confirm the selected Content tab before trying again.
A banner does not appear
Refresh the member page and confirm the banner was created for the correct module.
A content item is hidden
Check its active status, dates, category and role visibility.
Hub version 0.3.7 · Last updated 16 July 2026