Create custom modules
Add client-specific Single Article, Archive or External Link destinations and make them available to the right roles.
admin_custom modules.mov · Reviewed against the Buzzmint Engage Admin interface on 16 July 2026. The full-motion master remains in the private BUZZMINT VIDEOS Drive folder.
- 00:00Review Custom Modules
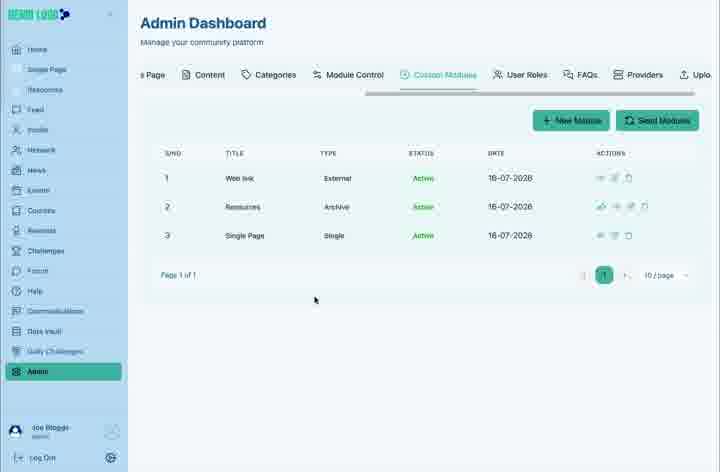
See existing records and creation actions.
- 00:20Start a module
Add title, icon, type and enabled state.
- 01:05Build a Single Article
Add date, header image and rich-text content.
- 02:10Verify the page
Review the member-facing Single Article.
- 03:05Create an Archive
Connect a Resources-style archive module.
- 03:30Check the result
Open the new module from member navigation.
What Custom Modules are for
Custom Modules adds client-specific destinations to the main Engage navigation without requiring a standard built-in module. The walkthrough demonstrates a single-page module and an archive/resources destination.
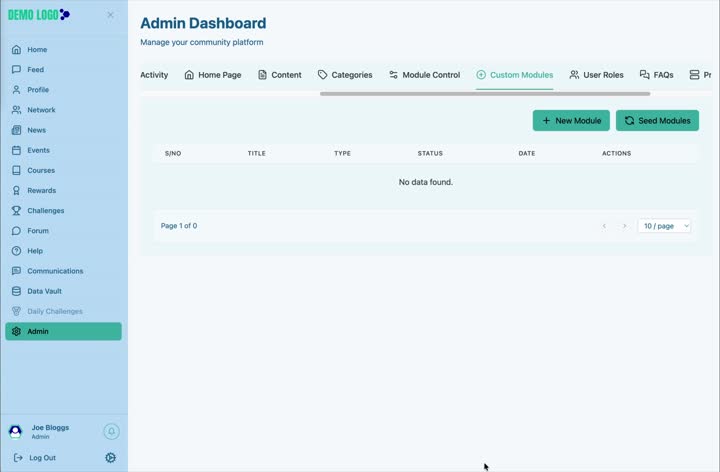
Create the module shell
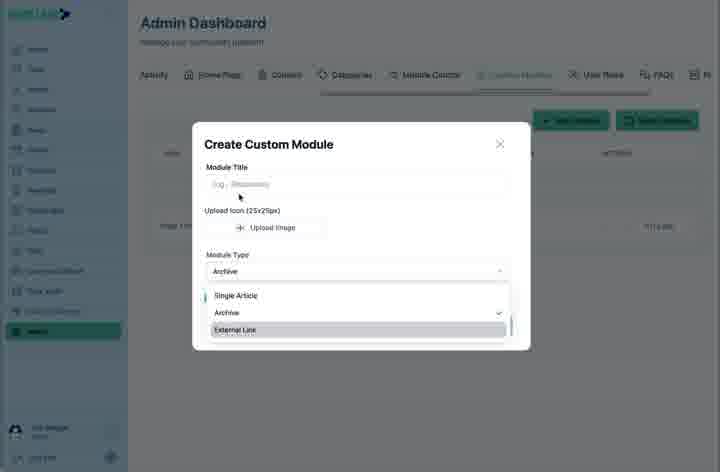
Select New Module
Open the Create Custom Module form.
Enter the module title
Use a short title that works in the left-hand navigation.
Upload the module icon
Choose a clear approved icon suited to the small navigation size.
Choose the module type
Select Single Article, Archive or External Link according to the intended experience.
Enable the module
Turn on the module when it is ready to become available.
Build a Single Article module
A Single Article module adds a title, date, header image and rich-text content to one dedicated page. This is useful for a stable policy, campaign page or important resource.
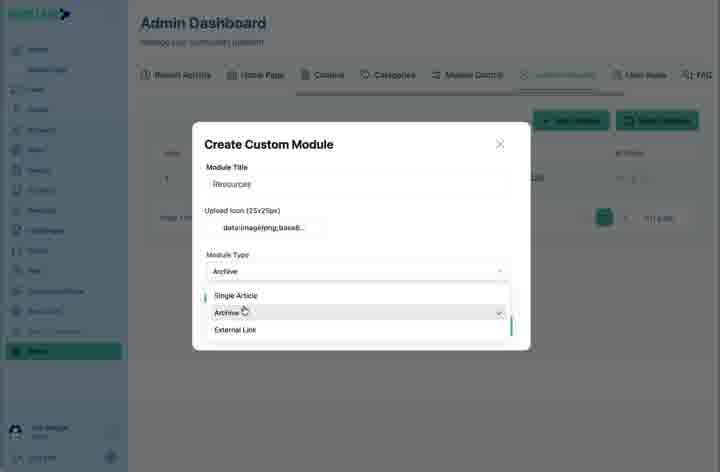
Build an Archive module
An Archive module provides a reusable listing destination such as Resources. Configure the archive connection carefully so the module opens the intended collection rather than an empty page.
Check Module Control and role access
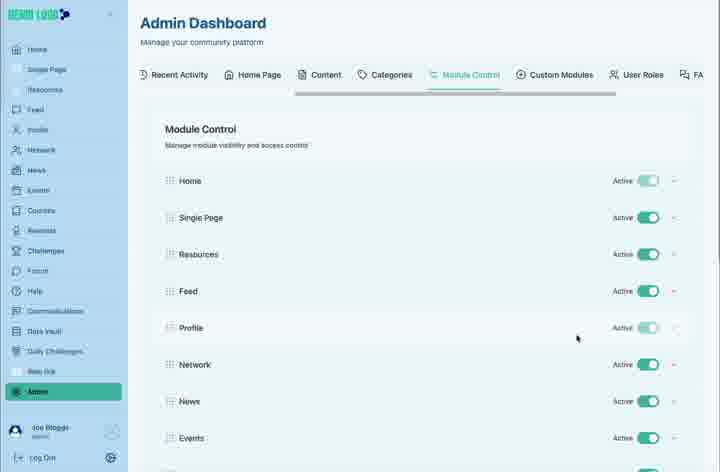
After creating a custom module, confirm it is active in Module Control and available to the correct roles. Then test the page using a representative member account.
Custom-module best practice
- Use short titles and simple icons.
- Choose the module type based on the content lifecycle.
- Test empty, loading and error states for archive destinations.
- Check visibility for every relevant role.
- Retire obsolete custom modules rather than leaving dead navigation.
Custom-module checklist
- The title fits comfortably in navigation.
- The icon is legible at small size.
- The correct module type is selected.
- Content or destination is complete.
- Module Control and role access are correct.
- The member journey works on desktop and mobile.
Common issues
The custom module is missing
Confirm Enable this module, Module Control status and role access.
The archive page is empty
Check the archive/source connection and whether any eligible content exists.
The external destination does not open
Verify the complete URL and test it outside the admin session.
Hub version 0.3.7 · Last updated 16 July 2026