Edit and verify a client portal
Correct portal assets or configuration in Super Admin and confirm the change in the client-facing experience.
Screen Recording 2026-07-15 at 10.28.44.mov · Documentation status: ready for Buzzmint team review. The unrestricted master remains in the private Buzzmint Drive folder.
Why edit after creation?
The initial creation flow may reveal that an image is in the wrong slot, a colour needs refinement or the member-facing result does not match the approved design. Super Admin allows the Buzzmint team to return to the client record and correct the configuration.
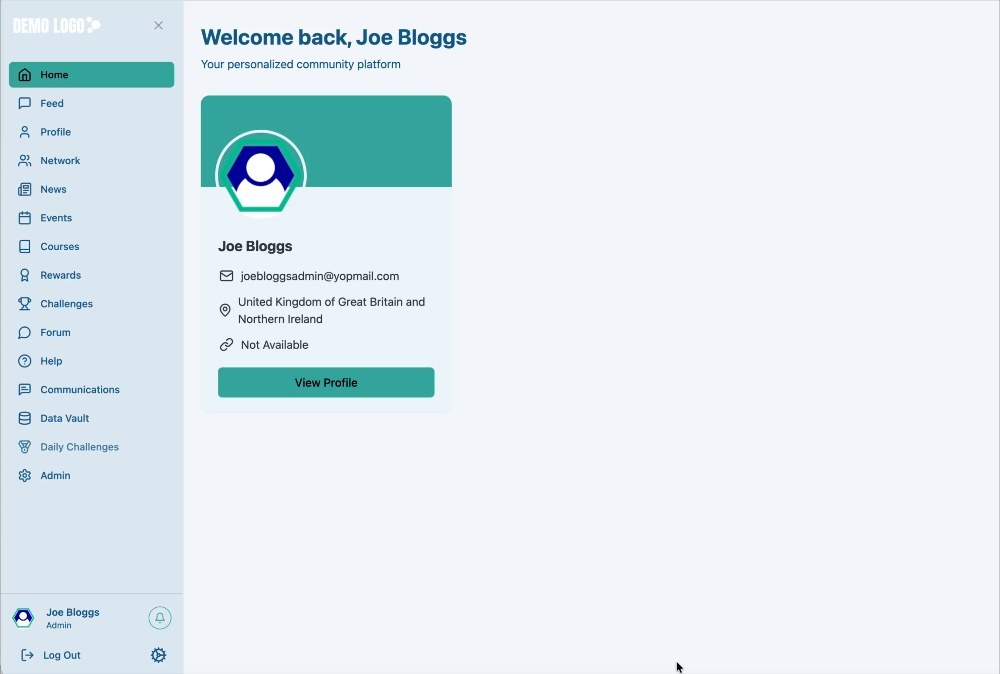
Open the client record
Return to Client Portal
From Super Admin, open the client portal list.
Locate the correct client
Use the portal name, email and logo to confirm the record before editing.
Open Edit
Use the action on the client row to reopen the portal configuration form.
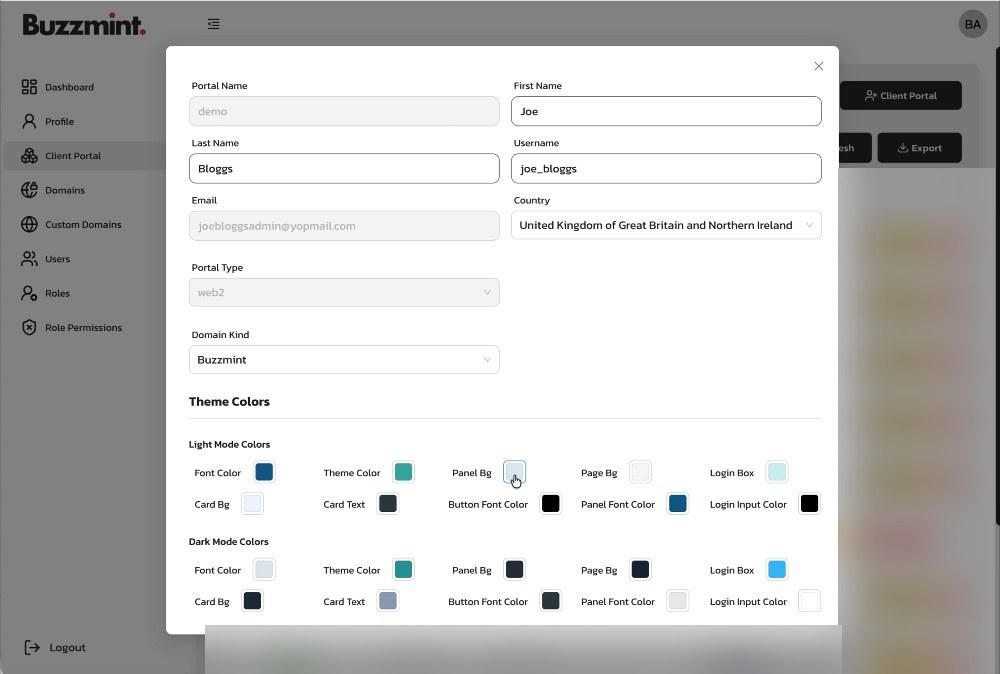
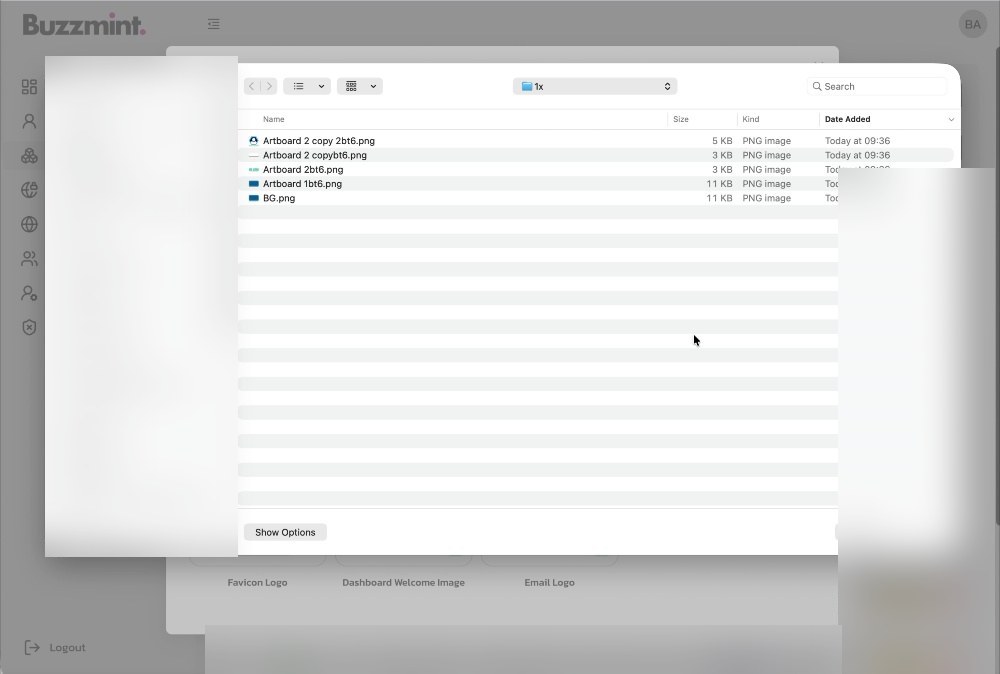
Replace or correct an asset
Select the relevant upload slot, choose the corrected file and confirm the upload. The walkthrough demonstrates replacing an image and then reviewing the member-facing dashboard again.
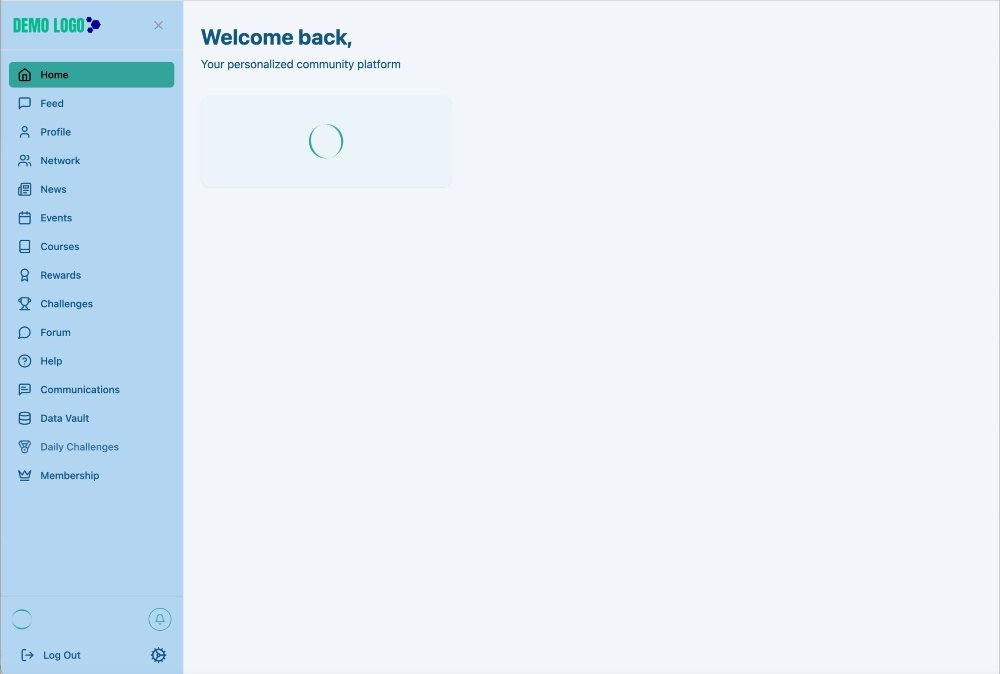
Verify the result in the live portal
Return to the member-facing portal and refresh or sign in again. Check the exact area affected by the change and then review the wider page for unintended contrast, crop or readability problems.
Post-edit checks
- The correct client record was edited.
- The new file appears in the intended location.
- Desktop layout remains clear.
- Mobile or narrow-screen layout has been reviewed.
- Light and dark mode remain usable where enabled.
- Login email and password flow still work.
- No unrelated client settings were changed.
- The change is recorded in the project or support log.
Hub version 0.2.0 · Last updated 15 July 2026