Create a client portal
Create a new branded client environment and its initial administrator from the Buzzmint Super Admin area.
Screen Recording 2026-07-15 at 09.37.07.mov · Documentation status: ready for Buzzmint team review. The unrestricted master remains in the private Buzzmint Drive folder.
Before you begin
- The client onboarding questionnaire is complete.
- The first administrator’s name, email and country have been verified.
- Portal type and business sector are agreed.
- All brand colours and images are available locally.
- Terms and conditions URL and login-page copy are approved.
Open Client Portal
Sign in to Buzzmint Super Admin
Open the Super Admin dashboard using your authorised Buzzmint team account.
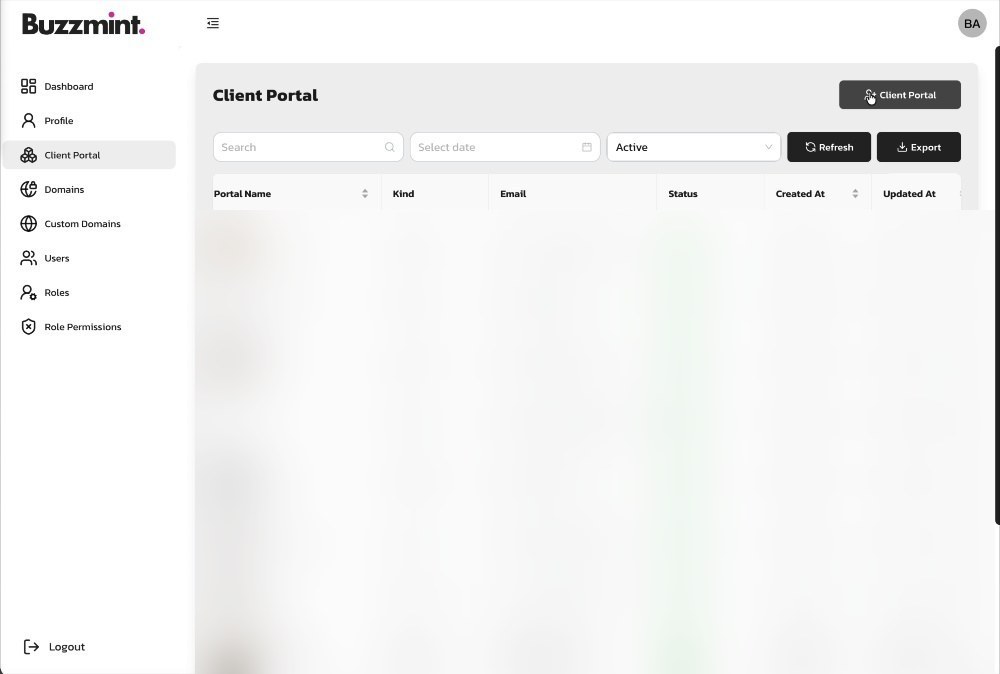
Select Client Portal
Use the left-hand navigation to open the list of existing client portals.
Select Create Portal
Use the button in the upper-right corner of the client portal list.
Complete Basic Info
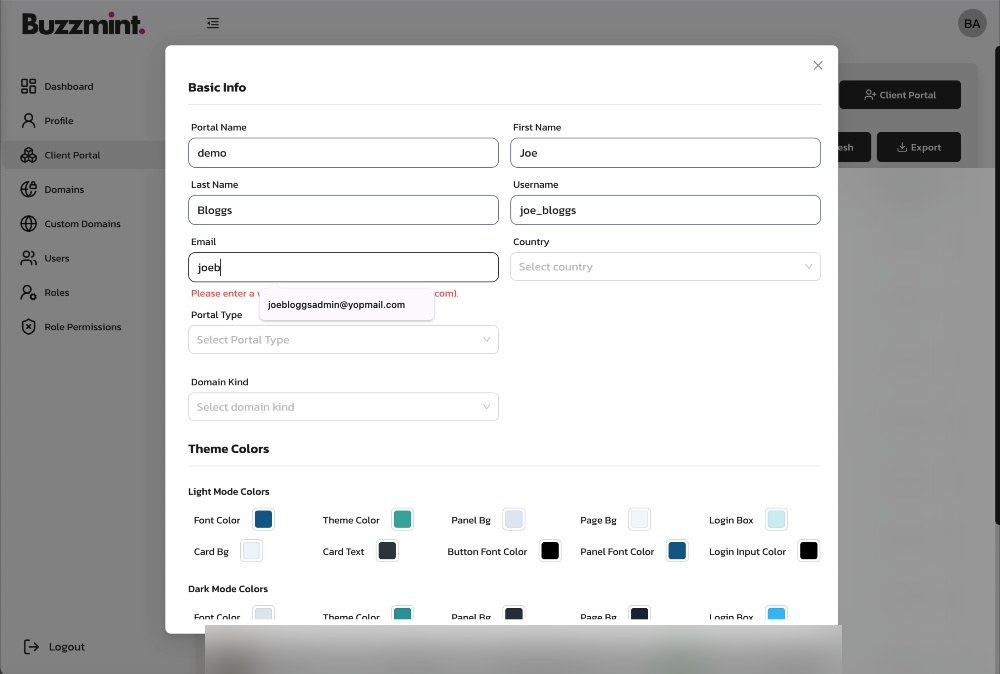
The first section creates the primary portal administrator and applies the basic classification used by the platform.
First Name and Last Name
Enter the named person who will become the initial client administrator. Use their real name rather than a generic company label.
Enter the client administrator’s business email address. This address receives the account-creation email and becomes their login identifier.
Country
Select the administrator or client organisation’s appropriate country. Confirm the full country label before continuing.
Portal Type
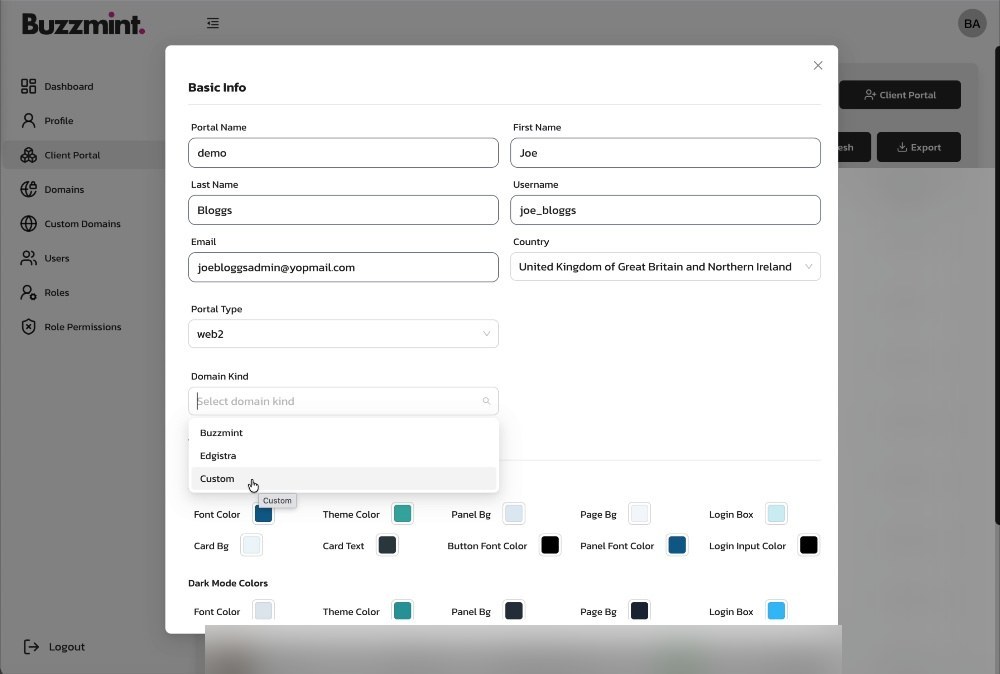
Select the portal model agreed for the client. The recording shows portal-type options such as Custom and Business. Do not infer the type from the company name—check the scope or onboarding response.
Business Sector
Select the closest approved sector from the available list. The recording includes examples such as Business, Education, Sport and Charity.
Configure theme colours
The portal form provides separate light-mode and dark-mode colour controls. Enter the approved values rather than choosing approximate colours by eye.
| Theme area | Typical use | Check |
|---|---|---|
| Panel colour | Backgrounds and larger interface surfaces | Text and controls remain legible. |
| Theme colour | Primary brand accent and active states | Matches the approved primary brand colour. |
| Panel foreground | Text/icons placed on panel surfaces | Meets usable contrast. |
| Page background | Overall page canvas | Does not compete with cards and content. |
| Login box | Login card or form container | Logo and form labels remain clear. |
| Card / card text | Content cards and their text | Test on real dashboard content. |
| Button / button text | Primary calls to action | Check hover, active and disabled states after launch. |
Upload portal images
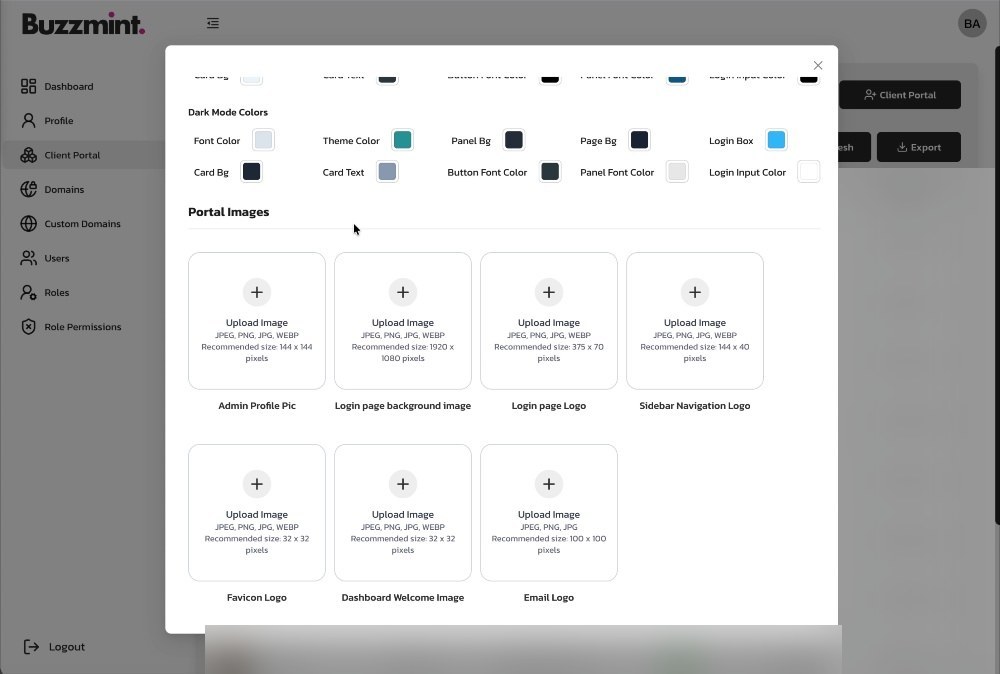
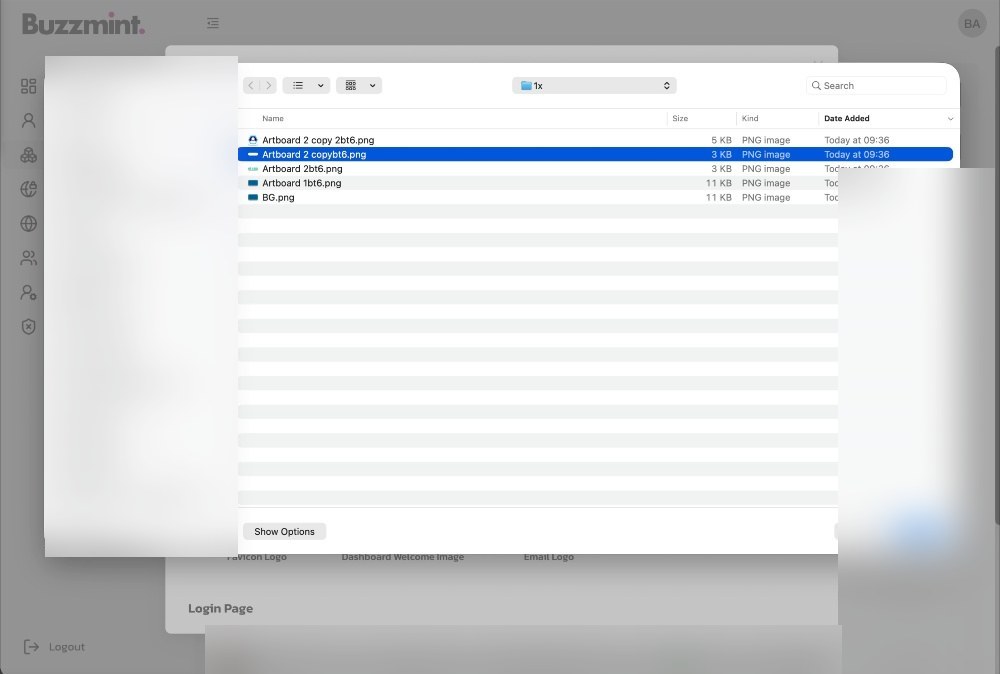
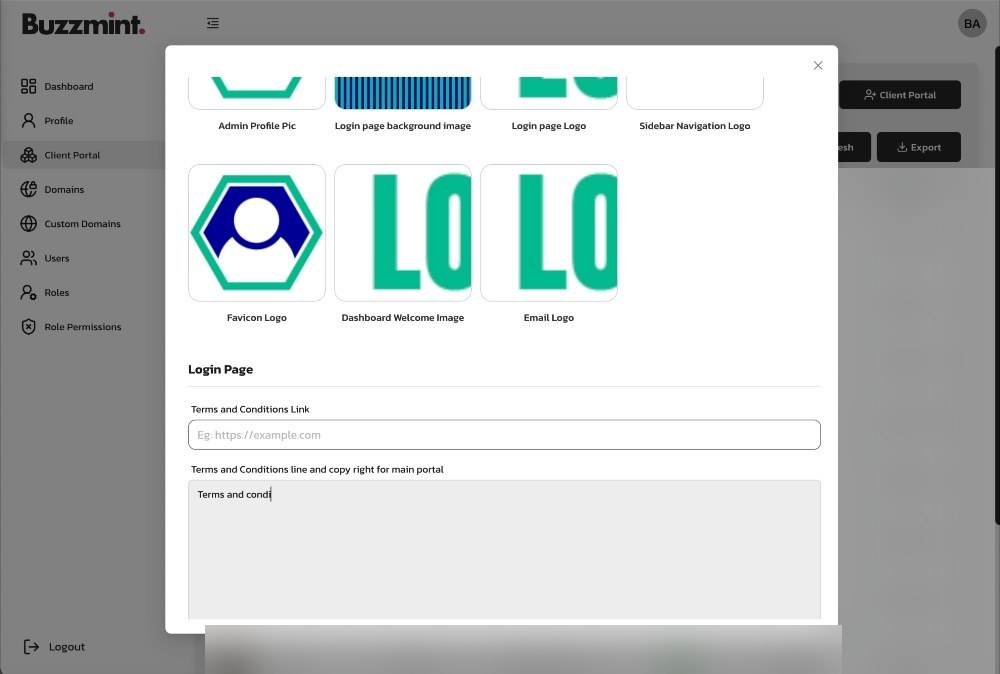
Upload the assets supplied through the onboarding questionnaire. The form shown in the walkthrough contains separate slots for:
- Admin profile picture or portal profile image
- Login-page background image
- Login-page logo
- Sidebar/navigation logo
- Favicon
- Dashboard welcome image
- Email logo
Add login-page content
Terms and Conditions URL
Add the live client-approved terms URL. Test it in a separate browser tab.
Terms and conditions / login-page text area
Add the approved explanatory copy shown beneath or alongside the login experience. Keep formatting concise and readable.
Create and confirm
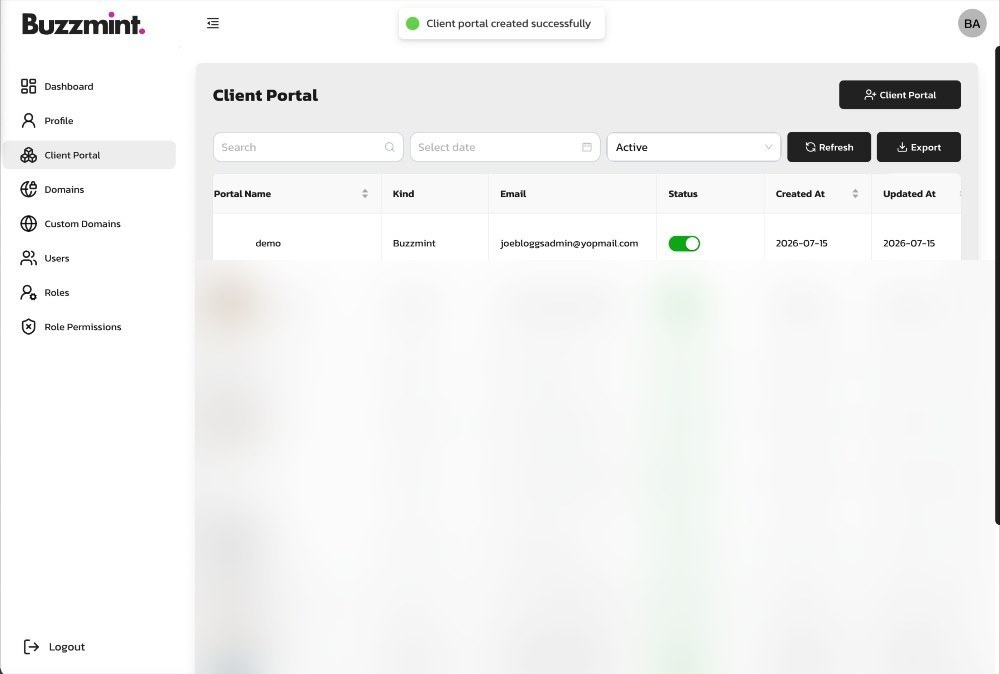
Review the form, select Create, and wait for the success notification. The new portal should then appear in the Client Portal list.
Hub version 0.2.0 · Last updated 15 July 2026